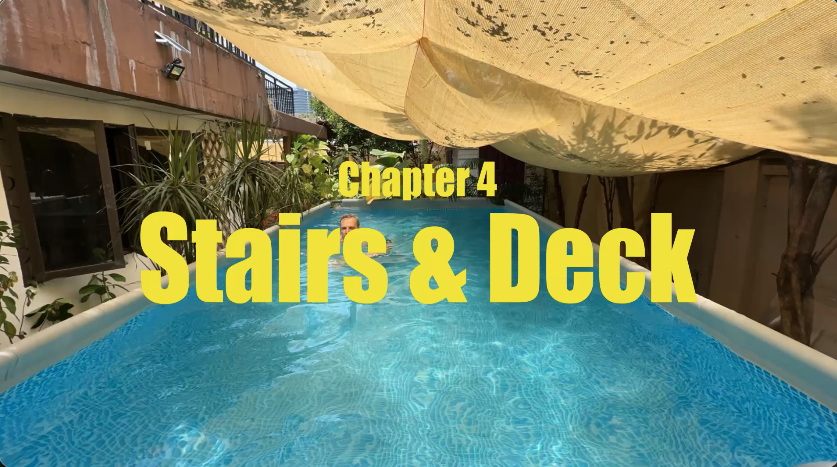
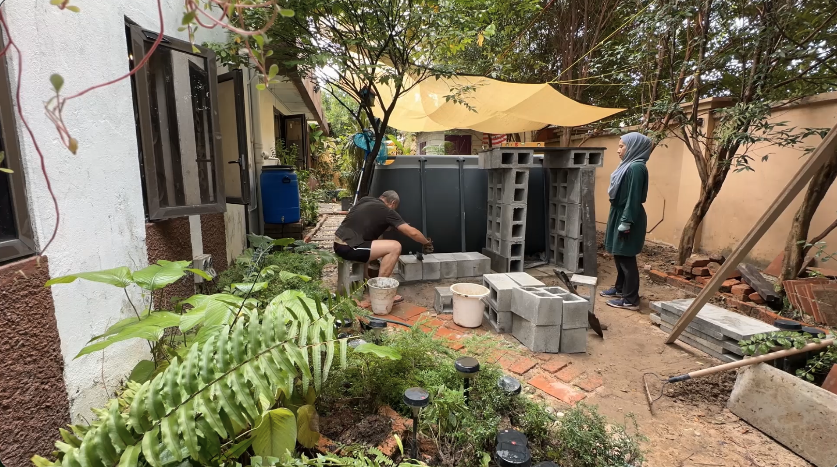
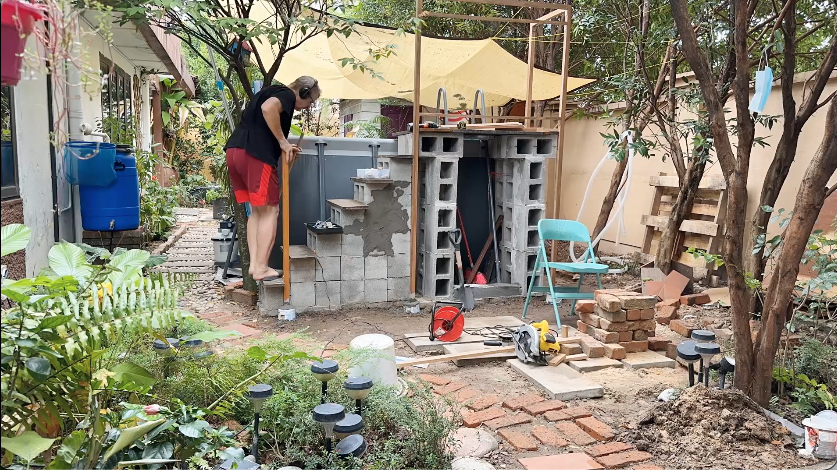
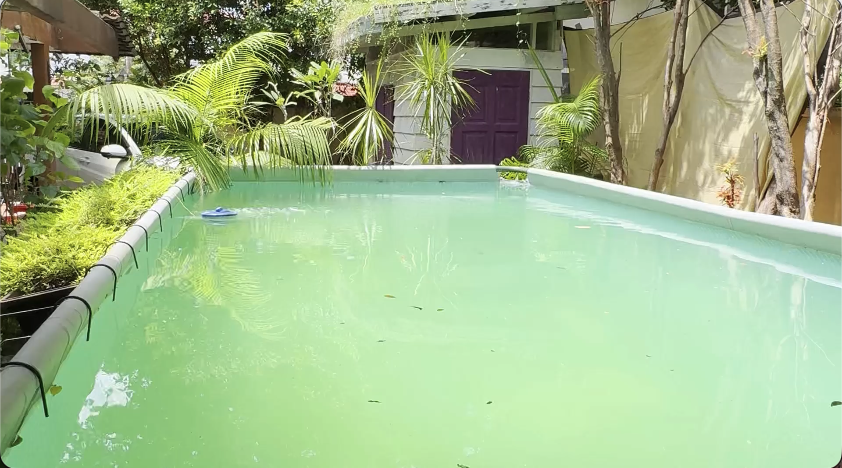
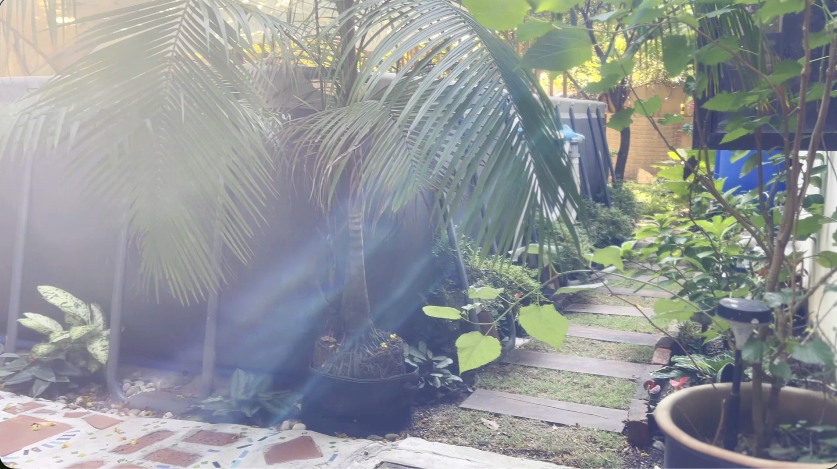
We’re setting up a pool with a space efficient DIY stairs and deck.
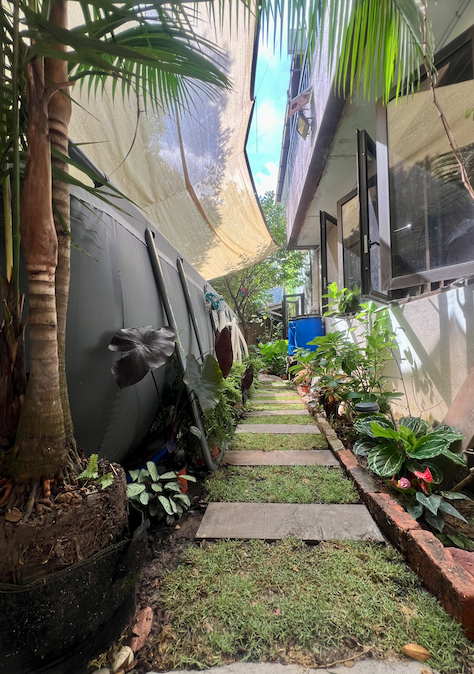
We’ll share the pre-installation process, the mistakes we made, what to expect and the pros and cons of having one.
Your available space dictates the maximum size and placement of your pool, alongside your budget, of course. The amount of water needed to fill up the pool is also something to take into consideration. While we used chlorine tablet, the water may still have issues which we’ll address later.
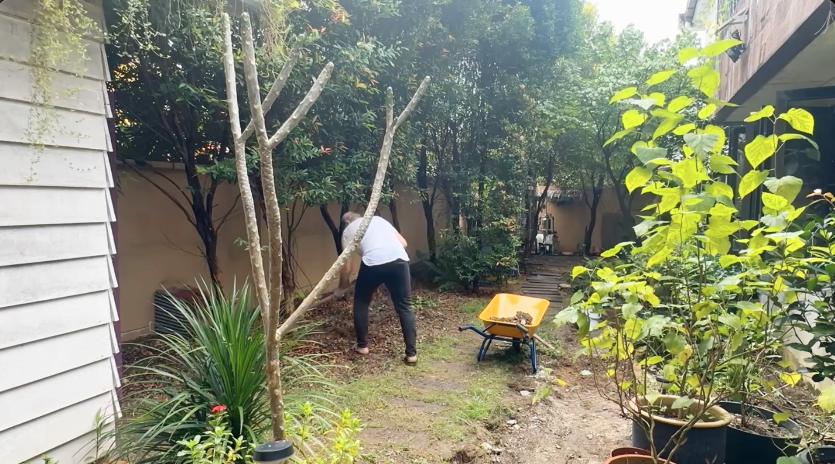
Deciding where to put your pool is the first step to getting one. A small garden limits the options, especially one with as many trees as ours. Smaller plants can be moved around but older bigger ones would be impossible to replant ourselves and would have to be sacrificed.
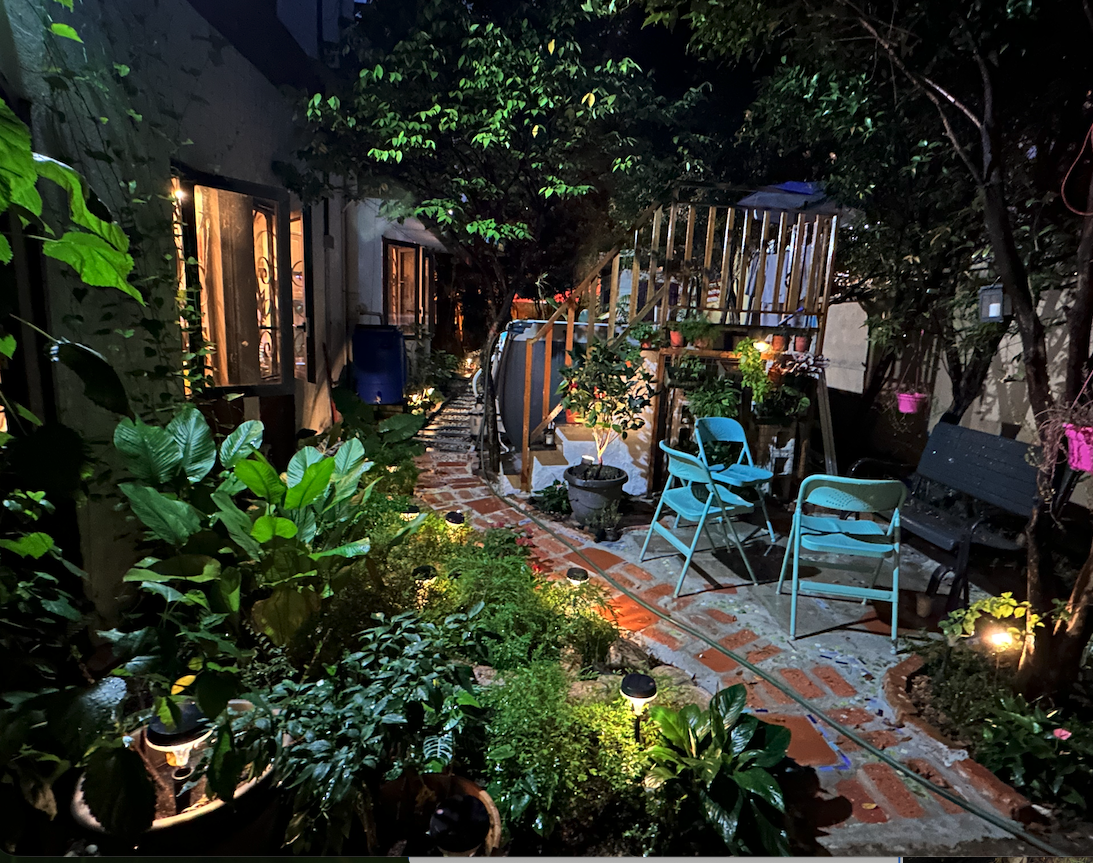
Being able to maneuver the space once a pool has been set up, as well as what it would look like in the garden and from inside the house, should be looked into. Windows and doors should still be able to be opened while leaving space to move alongside comfortably. A deep pool set up above the ground may also end up blocking your view from inside the house.
Preparing the site.
1. The Danger of Sharp Objects
Pool liners are made of vinyl, which is durable against water pressure but highly vulnerable to punctures.
A standard above-ground pool holds thousands of gallons of water. Water weighs about 8.34 lbs per gallon. That immense downward pressure will force the vinyl liner against any stray pebble, root, or nutgrass, poking a hole through it over time.
So clearing away all debris , tough weeds or grasses that can grow through vinyl is very important.
Once cleared, putting down a solid commercial pool pad, tarp, or a layer of sifted masonry sand beneath the liner acts as a protective barrier.
Most pools come with a tarp. However, it’s rarely enough to protect the pool. Sharp objects may not be very visible to the naked eye, but may instead only surface under the weight of the water.
So we decided on playmats as our protective barrier, which was a big mistake. The mats were flimsy and would not stay put while we set up the pool.
So we ditched that and went with the more obvious solution …sand. A whole lot of sand. We spread it and compacted it after we placed bricks that we had around as a border. Which brings us to our next chapter.
2. The Risk of Sloped or Uneven Ground
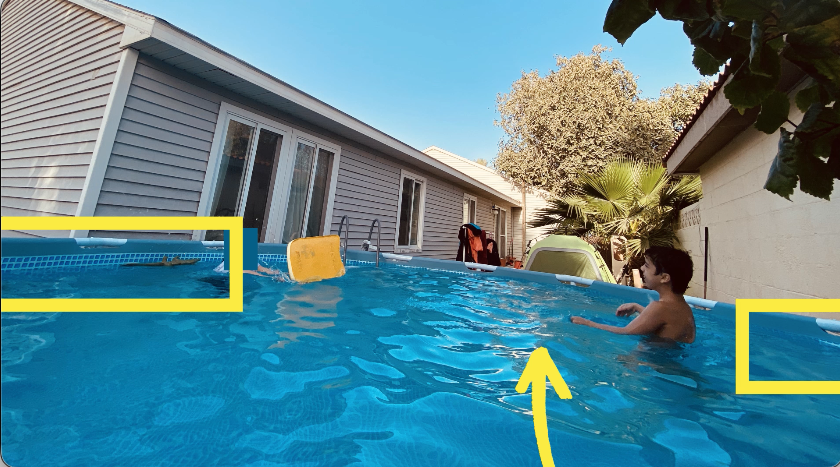
Water always finds its own level. If the ground shifts by even an inch or two across the diameter of the pool, the water level will be higher on one side than the other.
This shifts the center of gravity and exerts massive, unintended outward force on the lower side's walls and seams. This uneven stress can rip the vinyl at the seams. Even steel-framed or resin pools can buckle and collapse, sending a dangerous wall of water flooding into your yard.
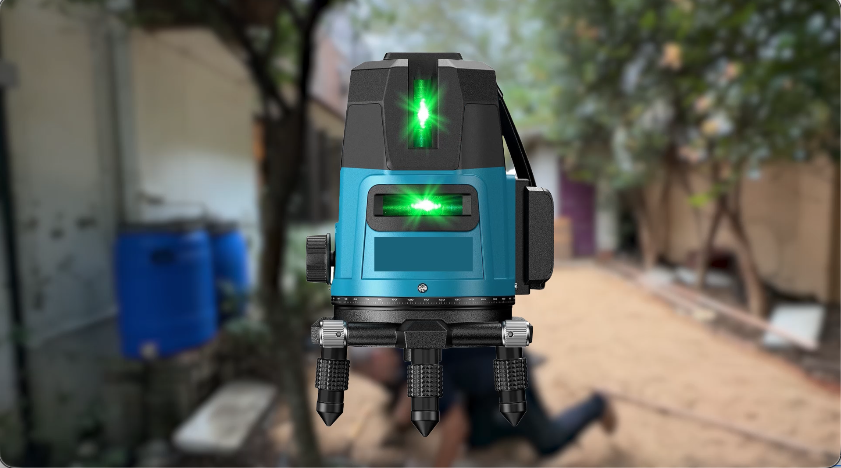
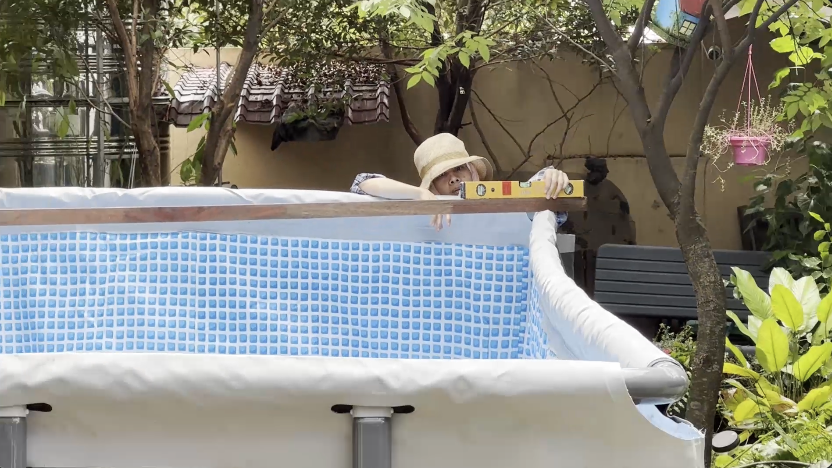
To prevent these exact issues, pool manufacturers always recommend using a transit or a laser level to ensure the ground is completely flat and never just "eyeballing" it. However, we did not have these. What we did have was a water leveller. We used it and a wood plank to make sure that the sand was level. Then we laid the tarp that came in the box and began assembling the pool itself. But it wasn’t as straightforward as that. We had measured the space needed without taking into account that the legs stood outwards. So when choosing and clearing a site to install a pool like ours, be sure to have extra space for the legs. The size of the tarp is most likely the amount of space that you’d need and not the dimension of the pool itself.
And therefore another tree had to go but once that was cleared and the pool raised up, we realised that the legs would have to rest on something solid to prevent it from moving about. We used cement slabs for this and buried it to the same level as the ground. The cement slabs were only placed where the legs were and did a good job of holding it in place.
Lesson learnt
If you’re planning on keeping your pool for many years, having a good permanent border that goes around the vinyl of the pool is better as the sand will shift over time if not kept in.
Once all the slabs were in place, we checked that the pool was level a last time, made the necessary adjustments before finally filling it up.
Adjusting the bottom of the liner when there is just a little water is something to do at this stage because any vinyl wrinkles would be unmovable if you wait till the pool is full.
Another point to note is to not worry if the sides of the pool start curving like a bow. It will straighten out once the water is full.
The stairs & Deck
We enjoyed the pool for several days but then we realised that the stairs were not the most secure thing. Especially since the pool was quite a tall one. So we decided to make one ourselves. We had some wood planks left from the garden pathway and knew it would make a good platform. It was made out of hardwood and would be perfect for the job.
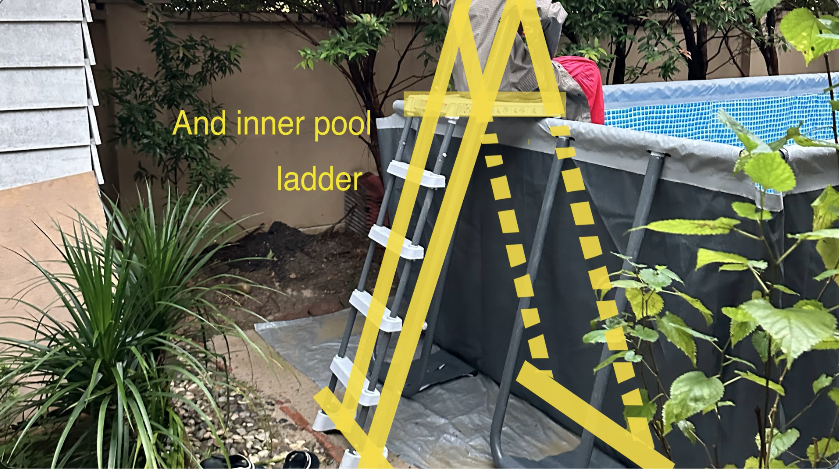
The pool ladder that came in the box comes in 2 parts: steps on one side on an upside down V shaped frame and a separate ladder that attaches to this frame which we removed. We only needed the main V frame with steps on one side. The steps would be submerged into the pool and the empty side was going to stay hidden beneath our deck.
Planning the arrangement
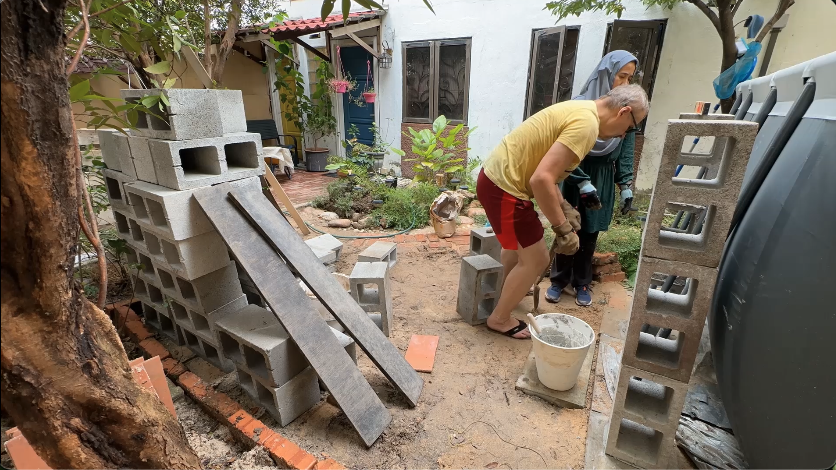
As we wanted to have a deck, we stacked the cinder blocks to the sides of where our ladder would go. The distance between the two sides is the size of our to-be-deck. We then had to decide whether the stairs would come from the front or the side. Having the stairs to the side right next to the pool is more advantageous because it would use less wood as we’d only need to have a railing on one side. This arrangement also takes up less floor space.
Once we were happy with the placement, we started to make it permanent.
What I’d do differently
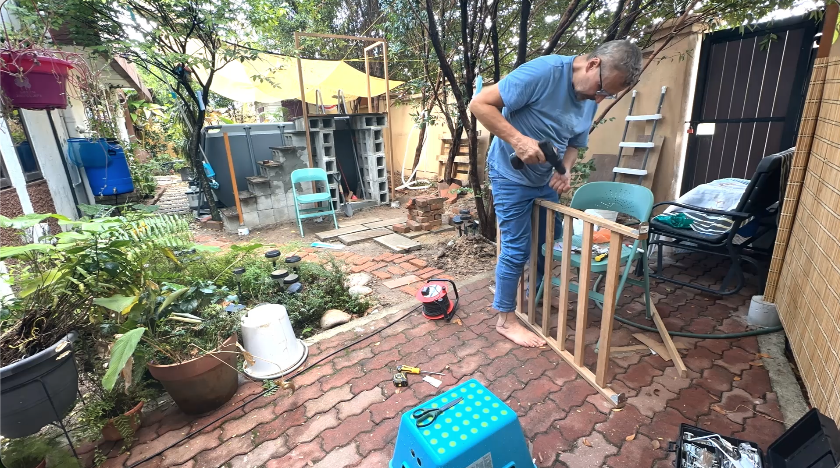
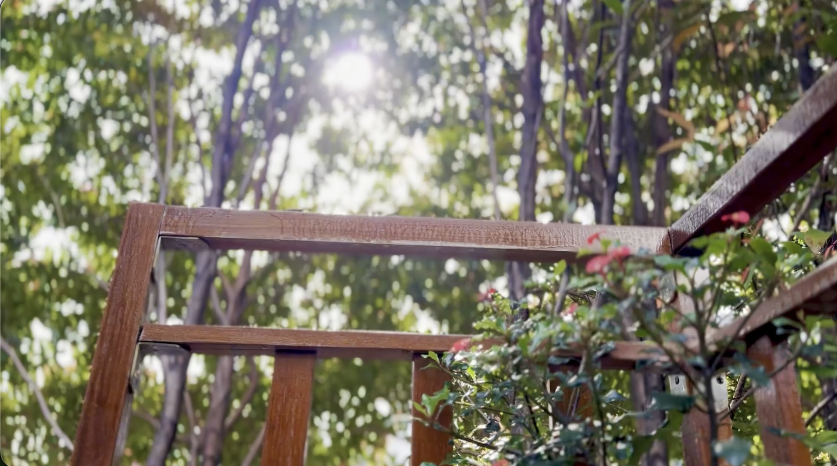
If I were to do this again, I would use a 90mm x 90 mm section for the posts to give it extra strength and be safer should someone lean on it. We used straight and L brackets to put the railing together - as I said before, we went for the easiest way possible. Did it do the job? Yes. Did it look good? Not so. It was visible, so we varnished it to make it less obvious.
Pros and Cons
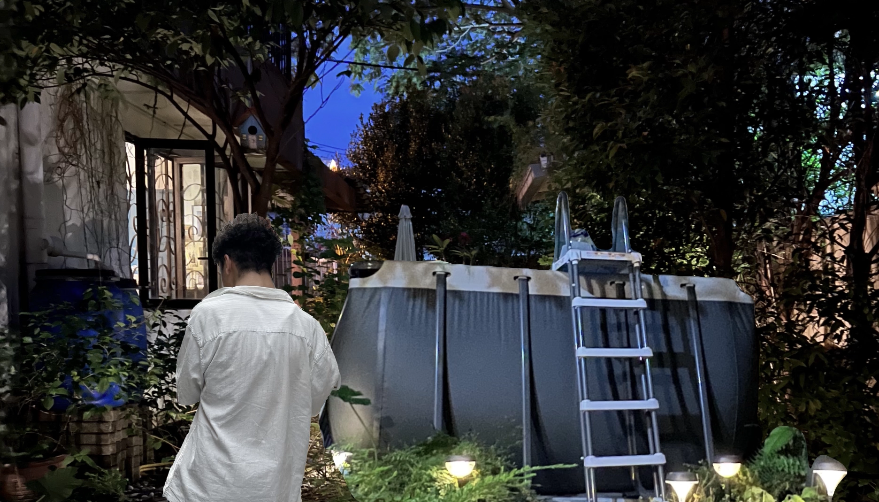
The plants hanging from the sides of the pool added a nice touch and covered the gray plastic that would have otherwise been seen from the house. The many plants surrounding the pool framed it beautifully and made the water a focal point.
The side of the stairs became a vertical garden with the repurposed wire wall photo grid and the stairs with the mosaic art were a feature in itself. The platform was a nice size that allowed 2 people to sit side by side and hang their legs over the water. The steps were a nice size and were comfortable to use and not slippery.
However, having a lot of trees meant more leaves in the pool. A net placed above the pool allowed water to pass through and caught the leaves but not smaller debris that came down with rain. These became a source of nutrients that promoted algae growth. Switching to a waterproof awning meant less leaves but hanging it was tricky as if it was not sloped properly, it ended up being a collection point for the heavy rain that we get here in Malaysia and would sag heavily when full.
The trees also added shade to the pool. While this may seem like a good thing it turned out not to be.
Both the awning and trees meant that the water was shielded from the sun and this made the swimming pool water very cold and was probably the main reason it was not used as much. Without pool heating, the experience was unenjoyable. In the end, while the pool was beautiful to look at, it was almost always too cold to swim in comfortably.
Conclusion
All in all, we were happy with how the pool and stairs looked in our garden despite being a plastic pool. So we were a little sad to let go of it but with the limited space we had, we had to clear it for our next project.