


Green Home Project
So your kitchen cabinets look outdated and tired. Here’s how you can give it a fresh update without ‘cutting more trees’ and spending a whole lot on brand new solid wood cabinet doors. It’s a win-win.

Reuse Those Old Cabinets
So you want a new kitchen, something trendy and fresh looking. How about reusing those solid doors from 10, 20 years ago? If you’re lucky the rest of the cabinets can still be used. If you’re not, like in my case, years of being away have left it in pretty bad shape. The cupboards were unusable. On top of that, redesigning the house layout meant that the kitchen was now going to be an open kitchen where the dining room used to be and so the cabinet layout would also be changing. Would it be possible to still use my old doors? Here’s how I got a new updated kitchen at a fraction of the cost and on top of that, I reused what I could. Look at the full process in the slides below.
-
![]()
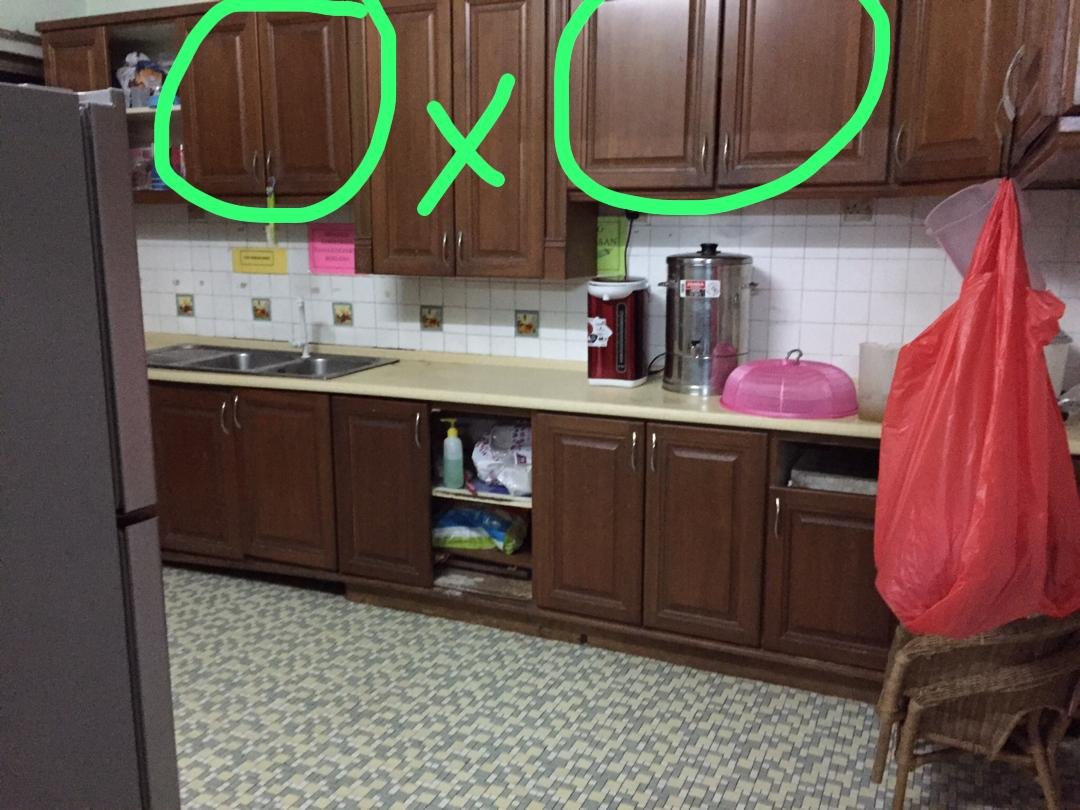
1. The cabinets are in bad shape, but the doors and table top and sink are still good.
-
![]()
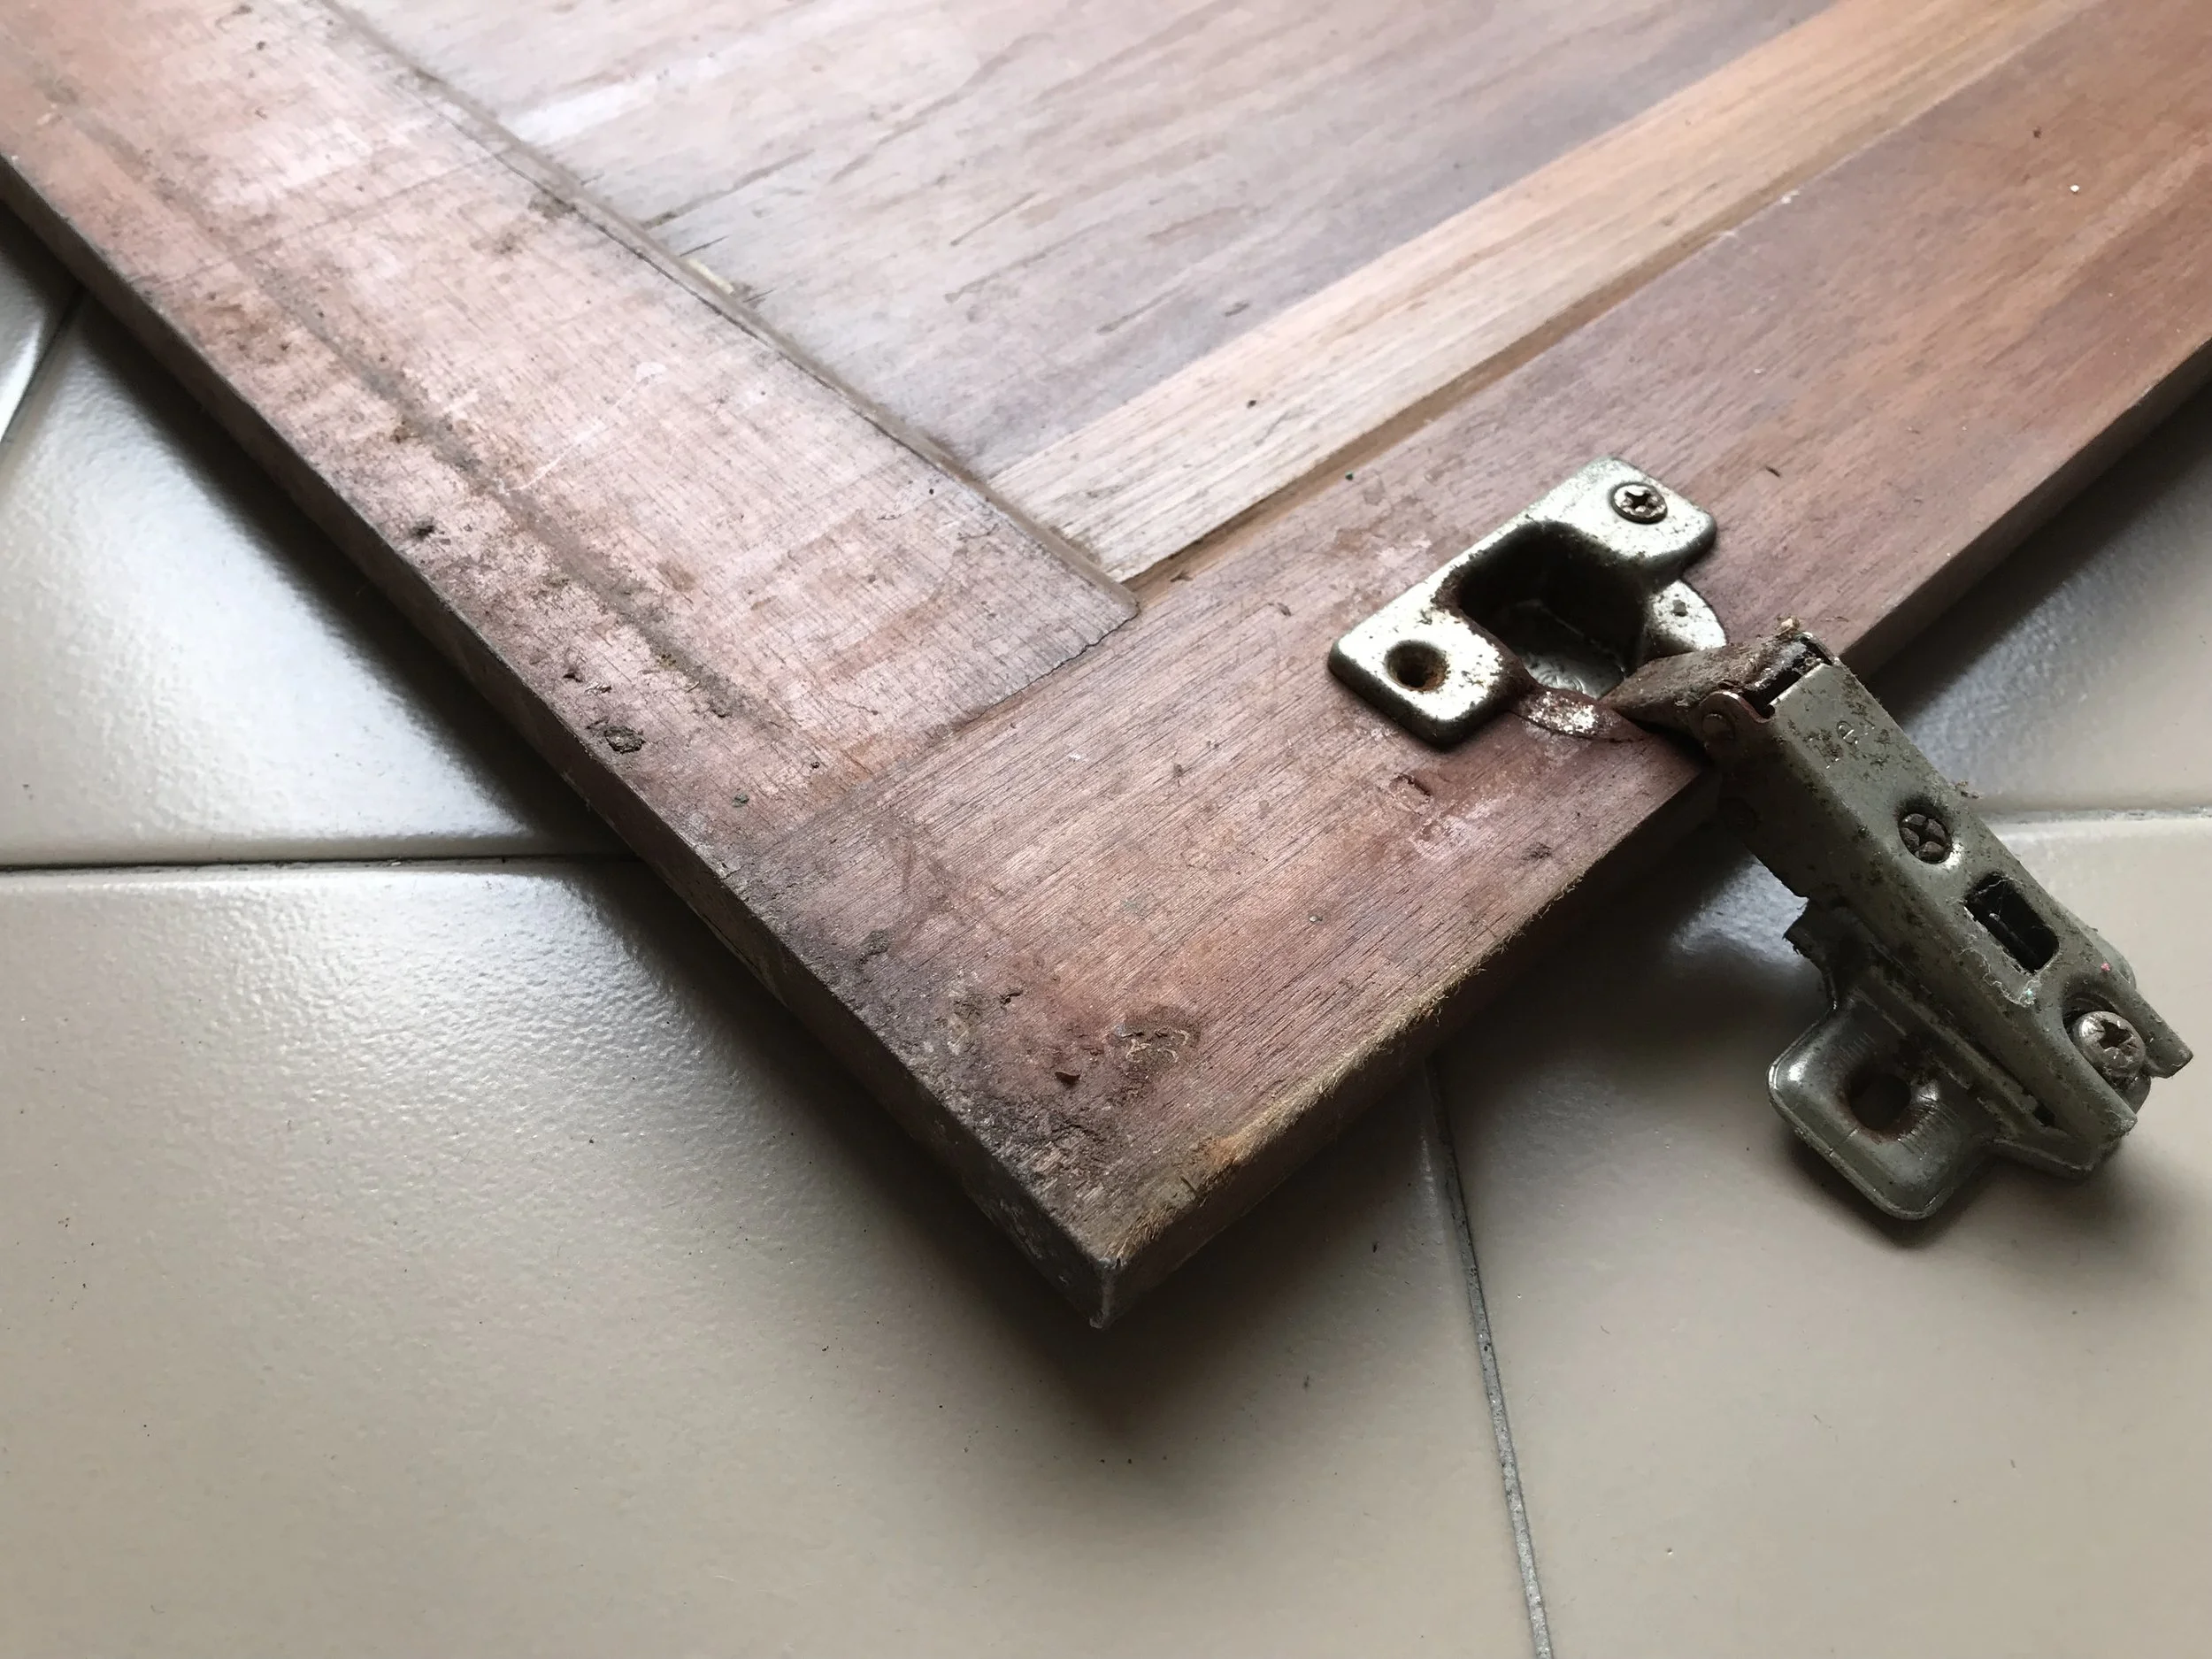
2. The old door needs a good wipe. The hinges are bad and will be discarded.
-
![]()
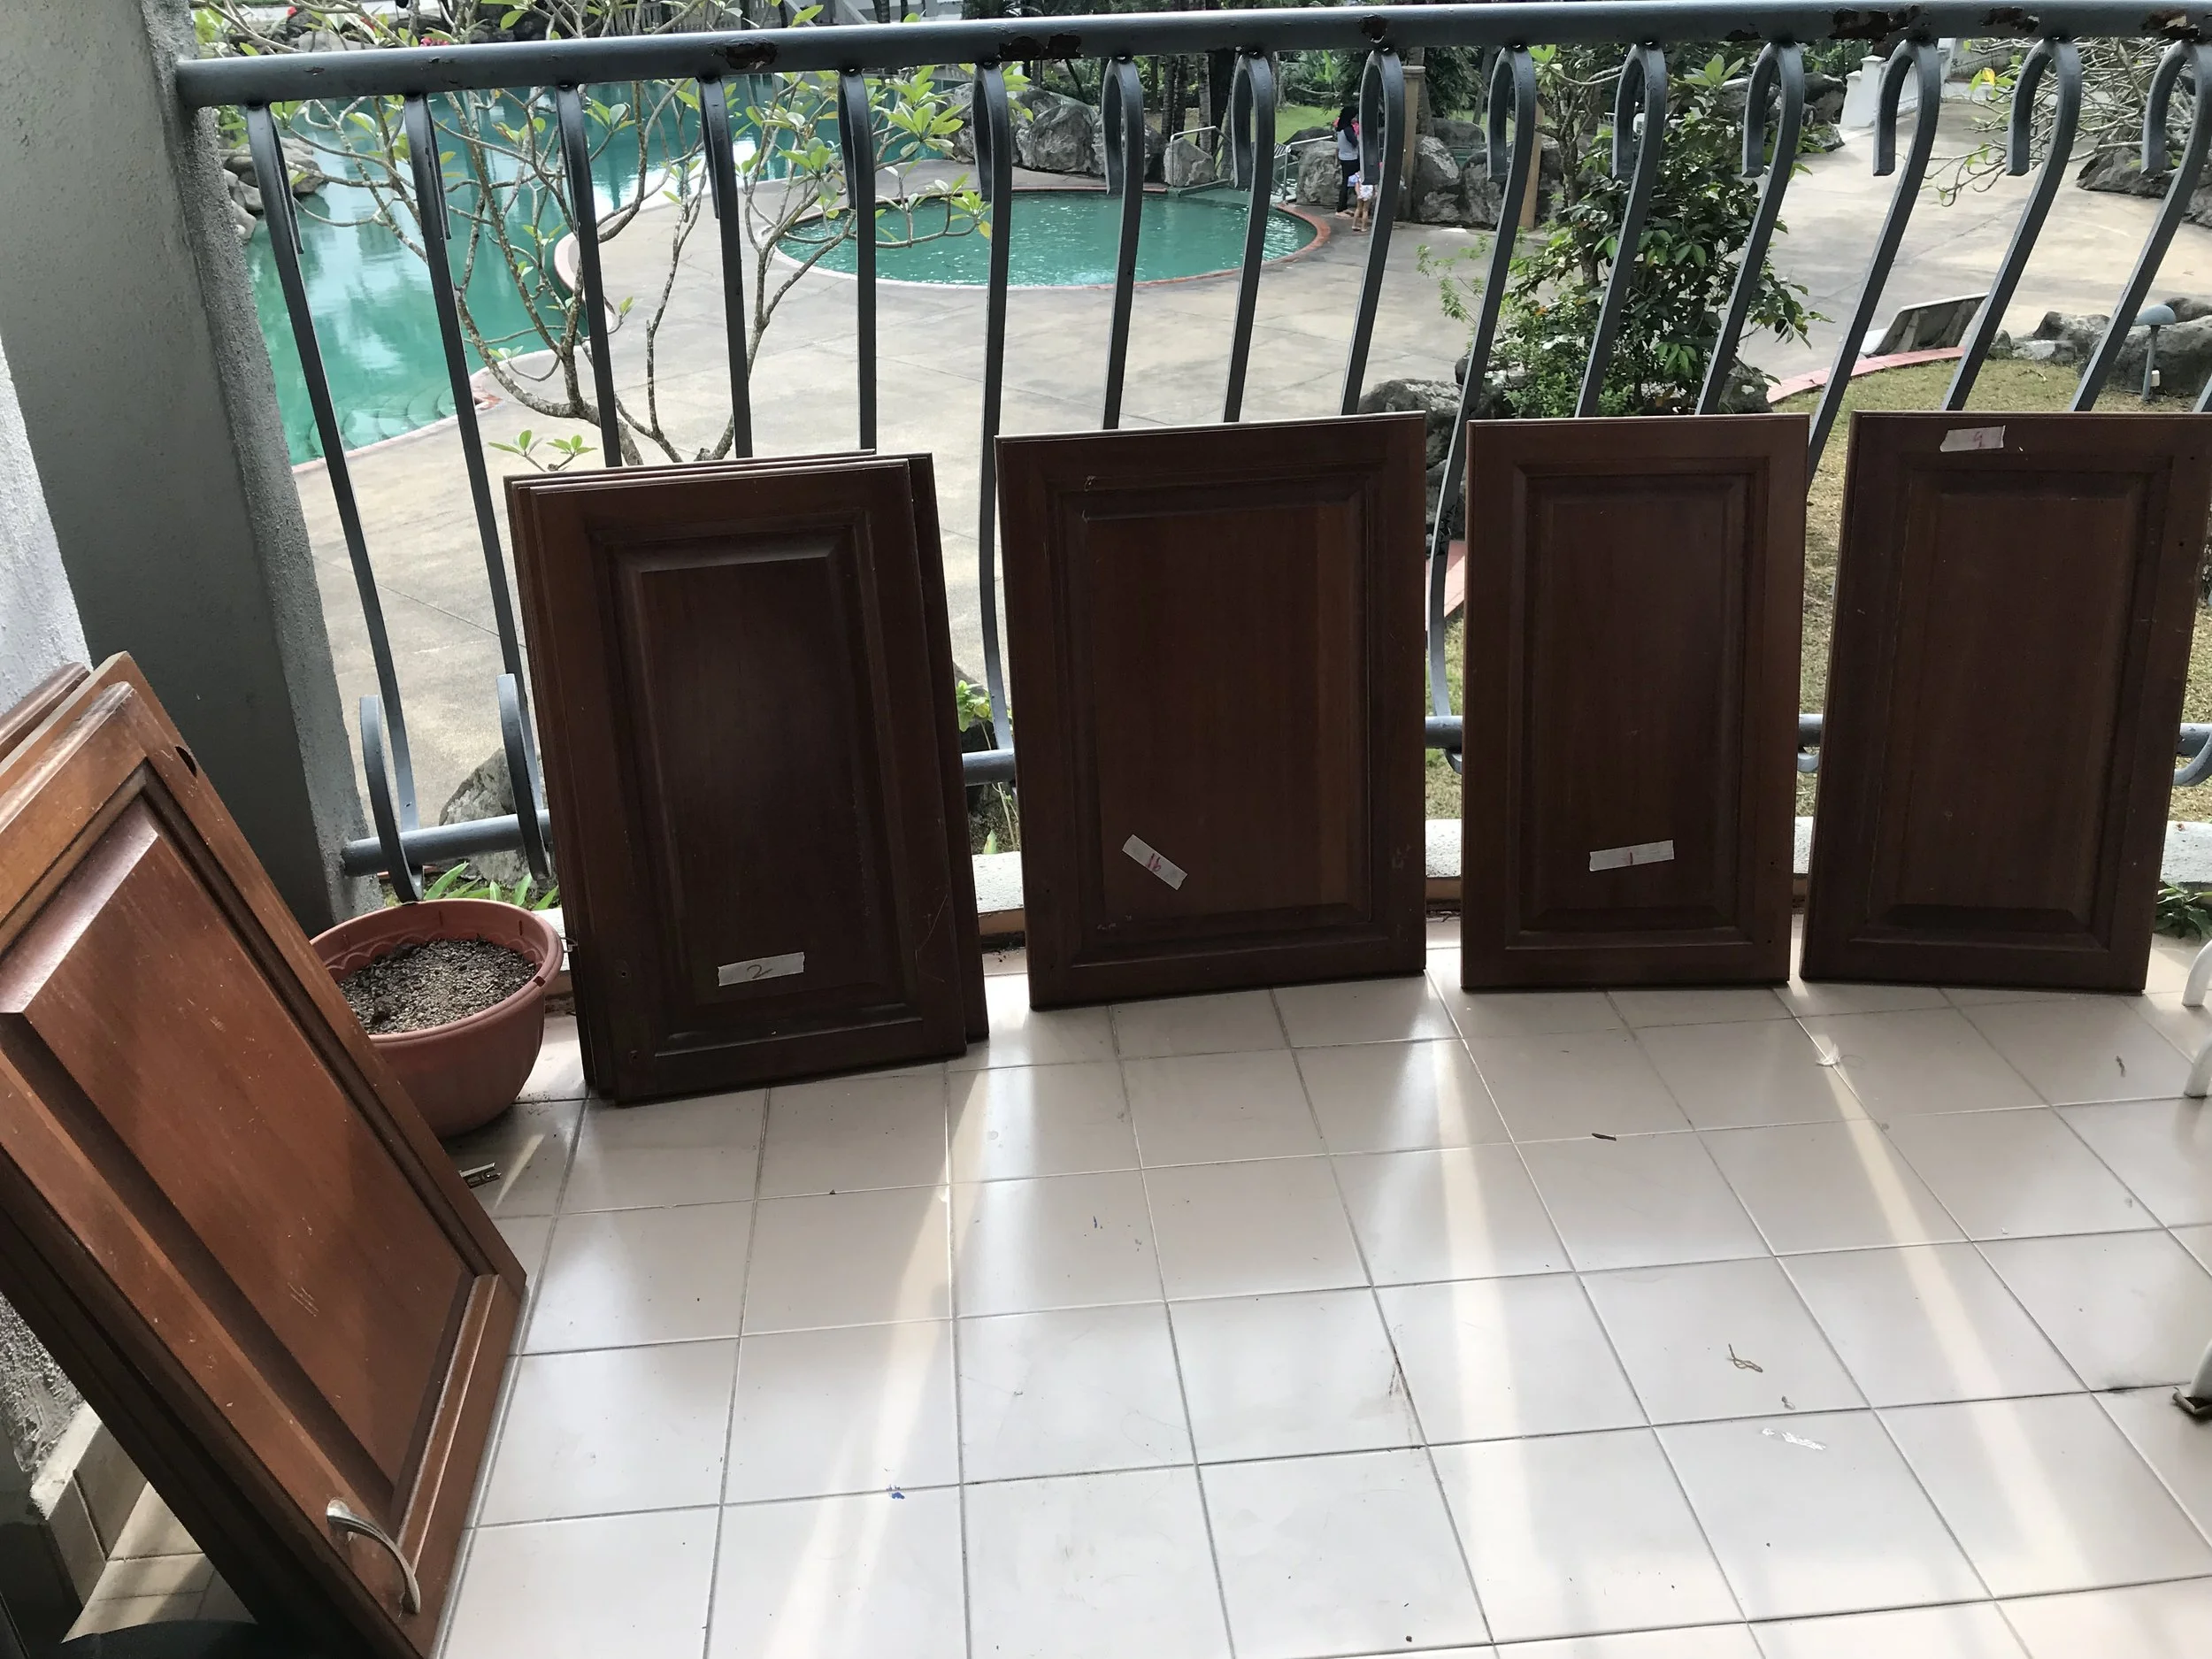
3. The old doors are labelled to make it easier to know where they will be used in the new kitchen. I relabelled it using a marker where the hinges were. As these will be covered it will not be painted.
-
![]()
4. I lightly sand the doors. I only need to remove the varnish from it so that the new coat of paint will stick to the wood and won't peel off.
-
![]()
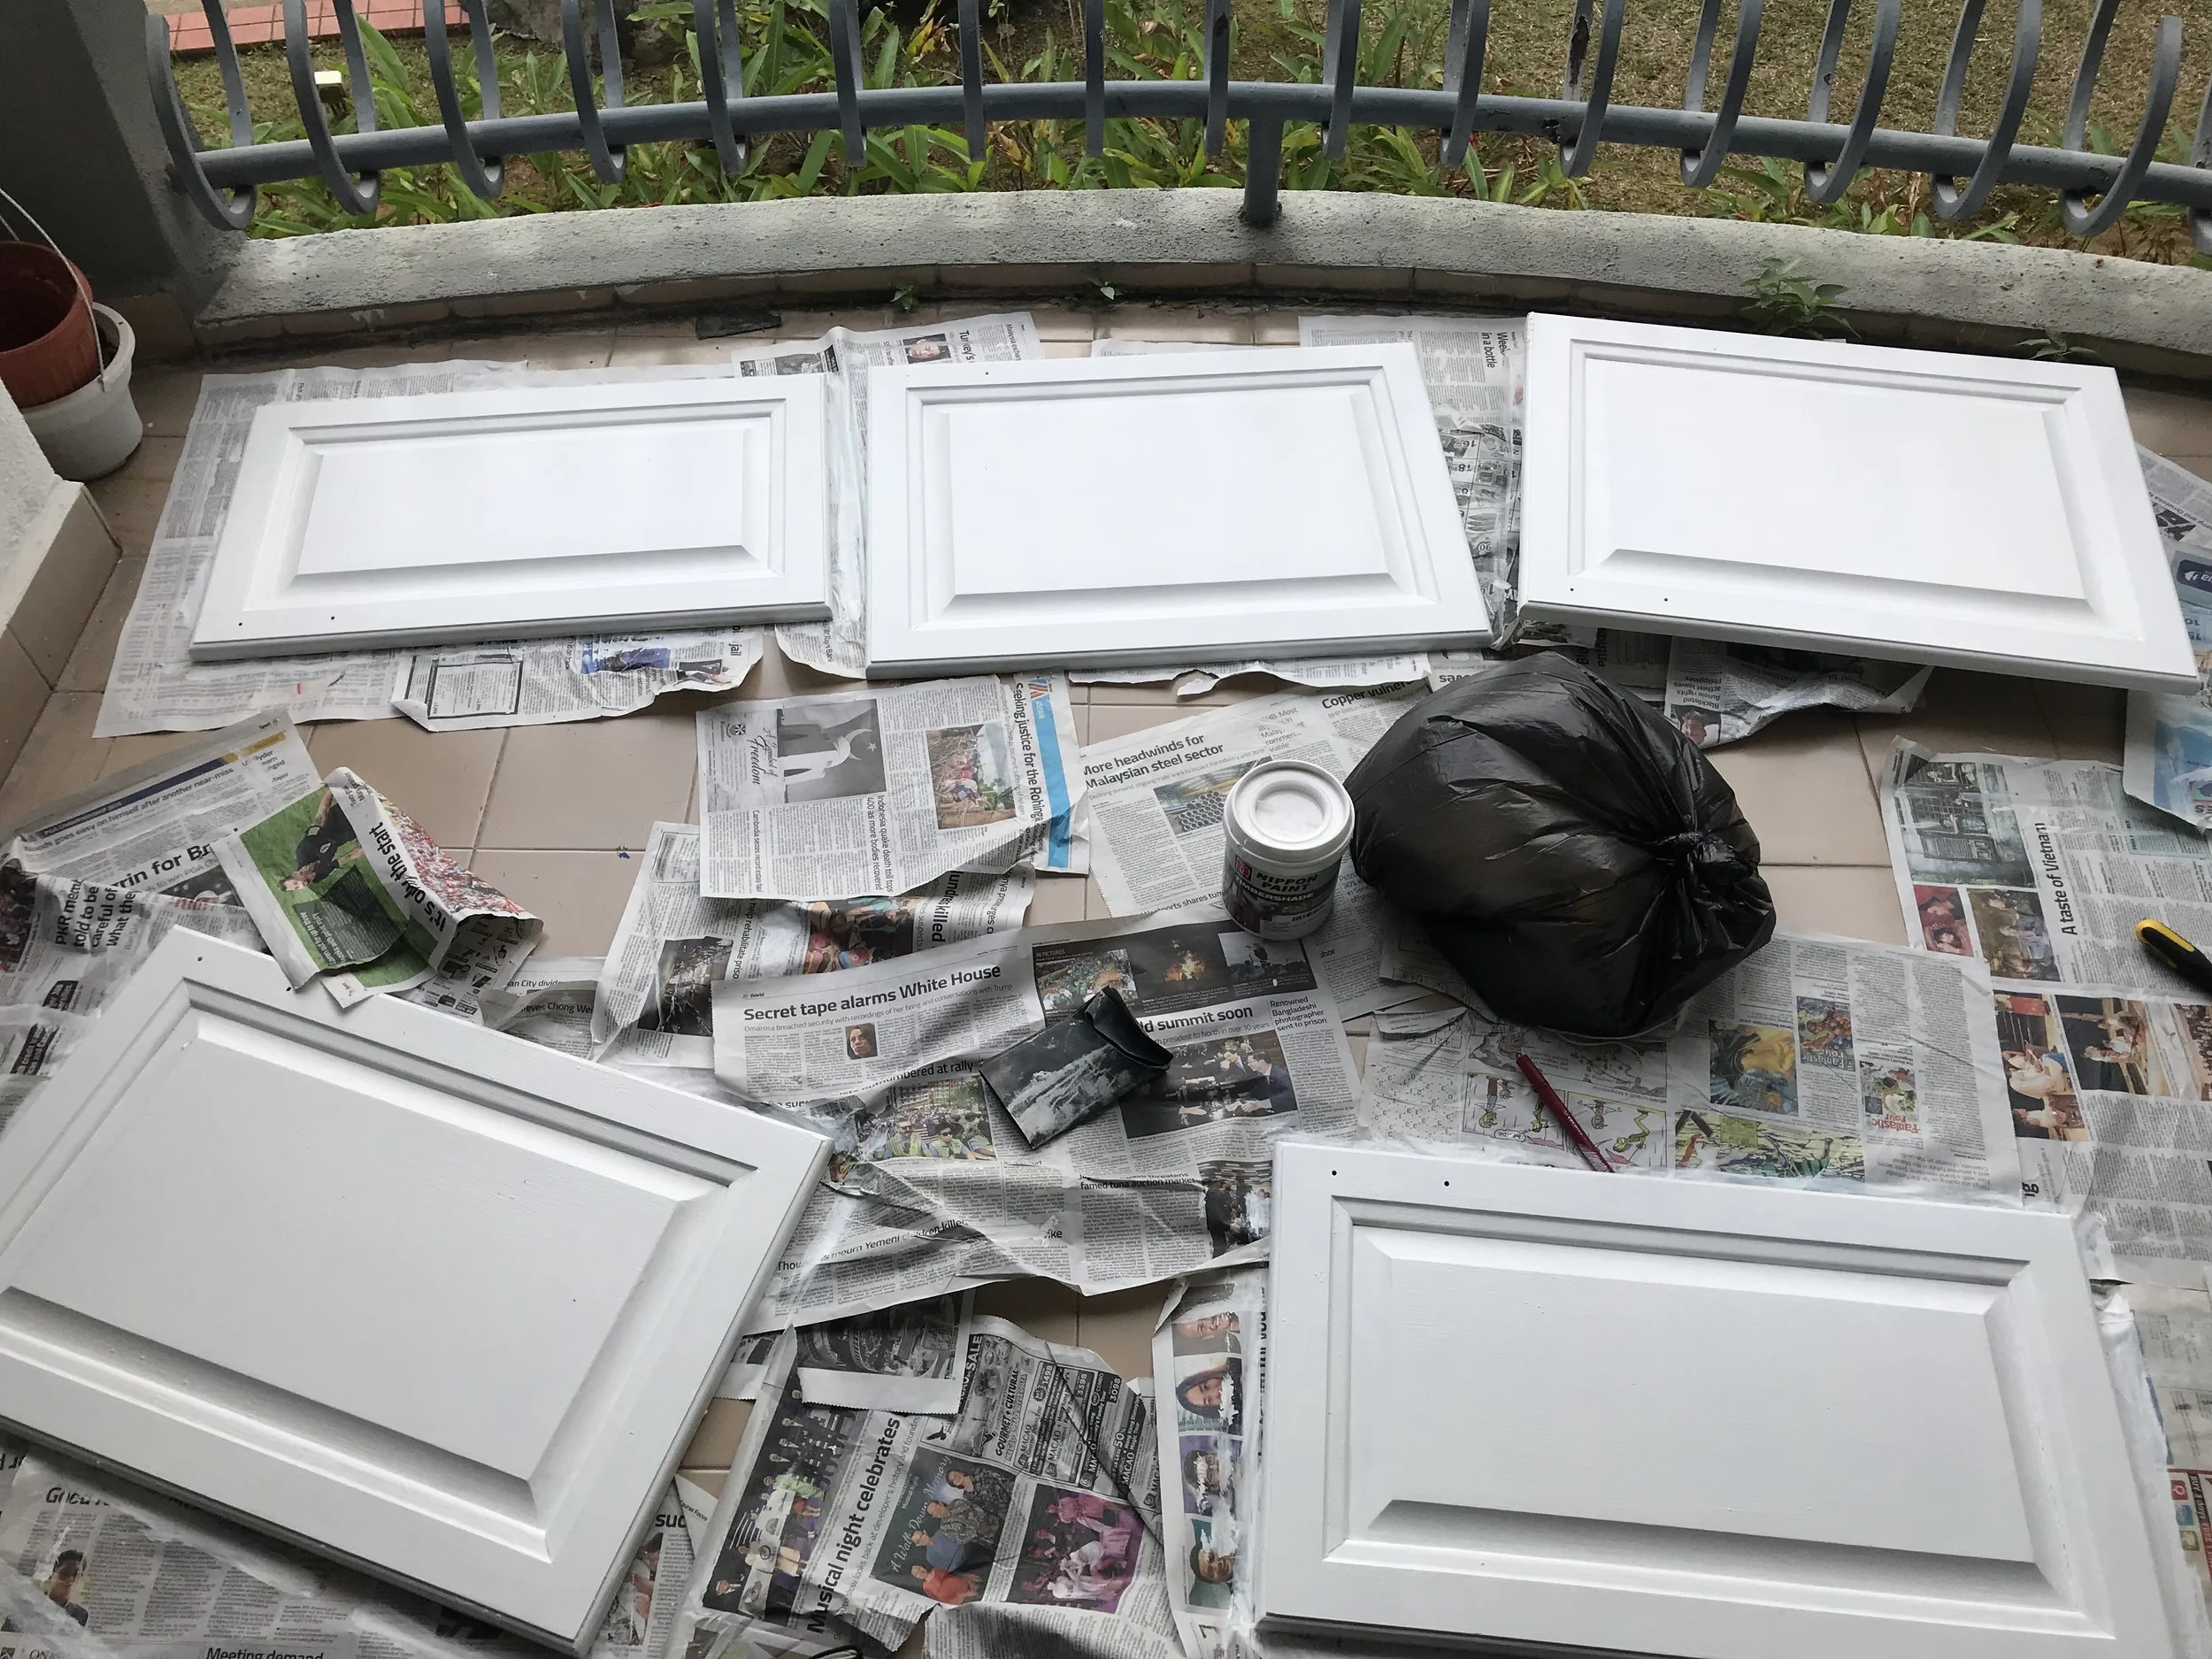
5. The wood is painted with a layer of primer and then a 3 coats of Nippon Timbershade.
-
![]()
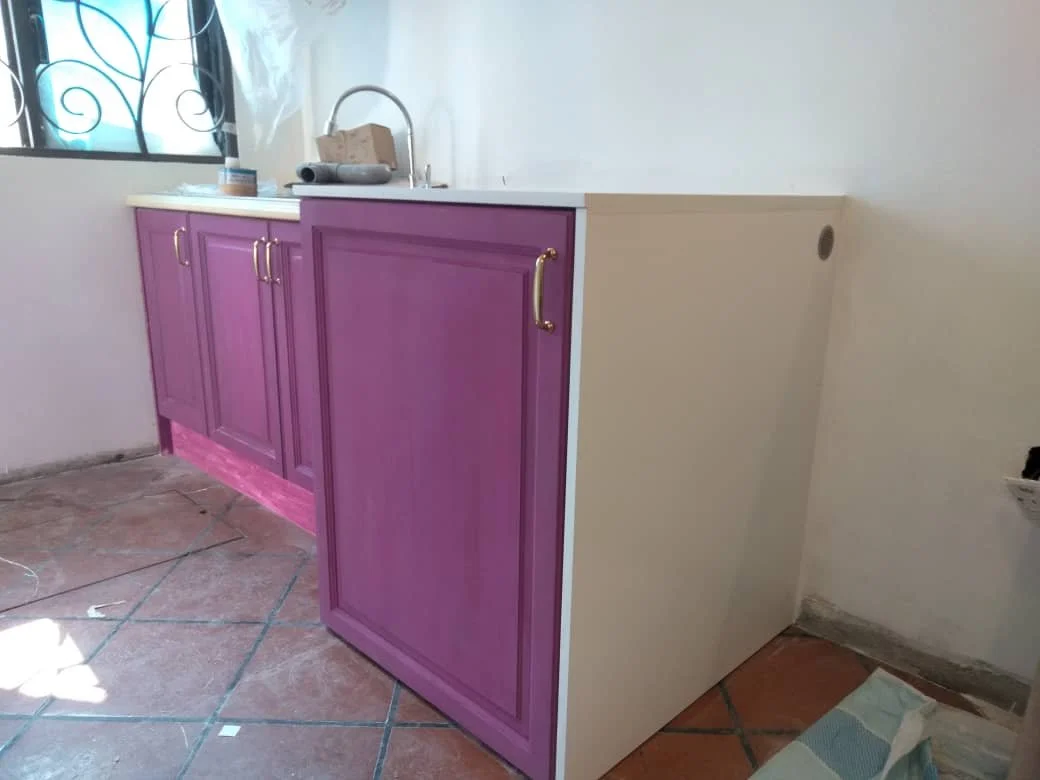
6. I'm excited to see the finished doors and install Ikea door handles. The doors look nothing like the old brown doors they used to be.
-
![]()
7. Because the kitchen layout has changed, some doors would not be used. I gave these away to my sis who did her own little project.
-
![]()
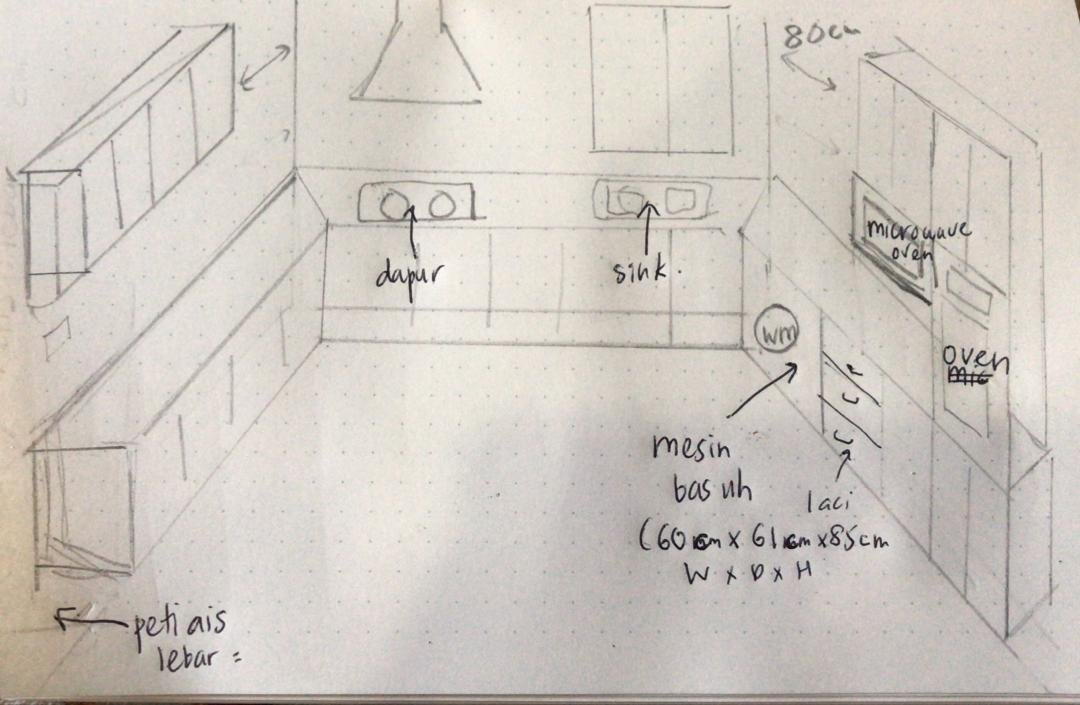
8. My rough sketch for the cabinet contractor.
-
![]()
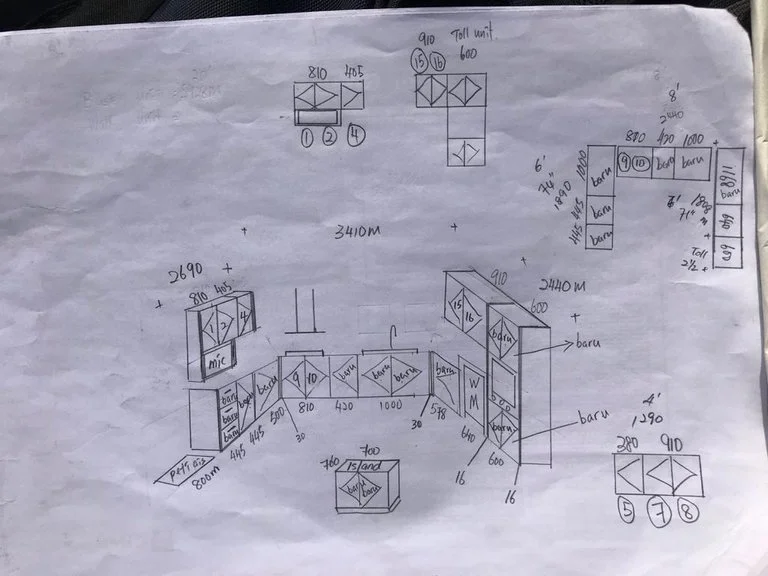
9. The contractor returned a detailed sketch. There will be a mix of old and new doors.
-
![]()
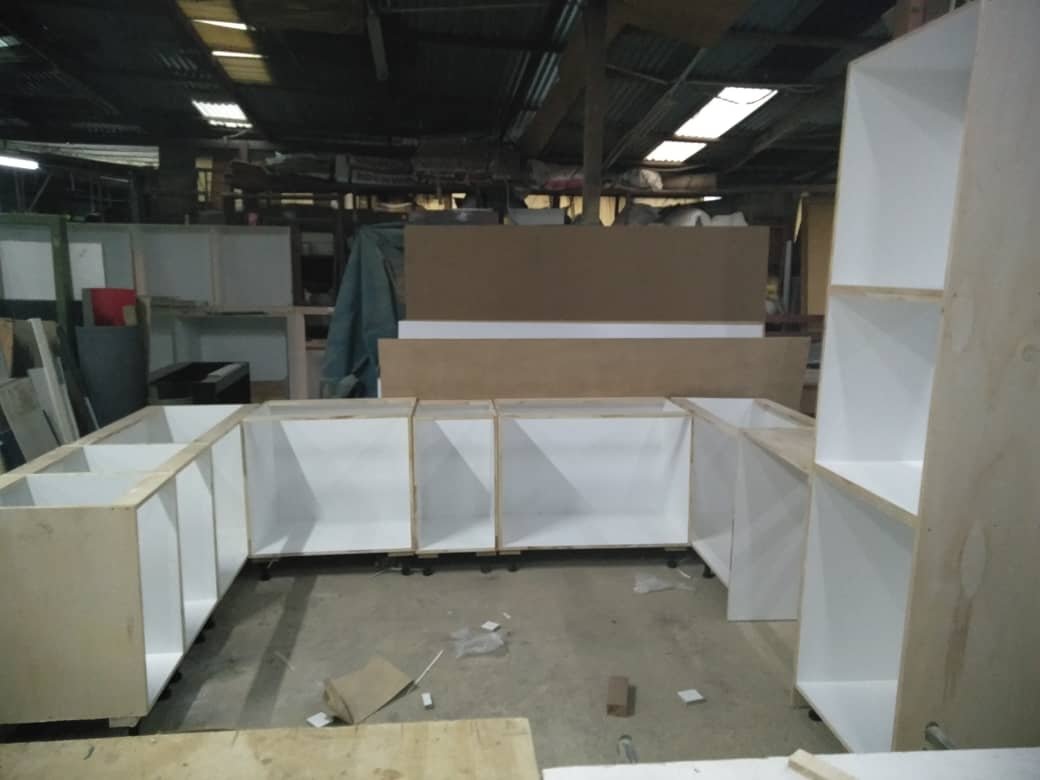
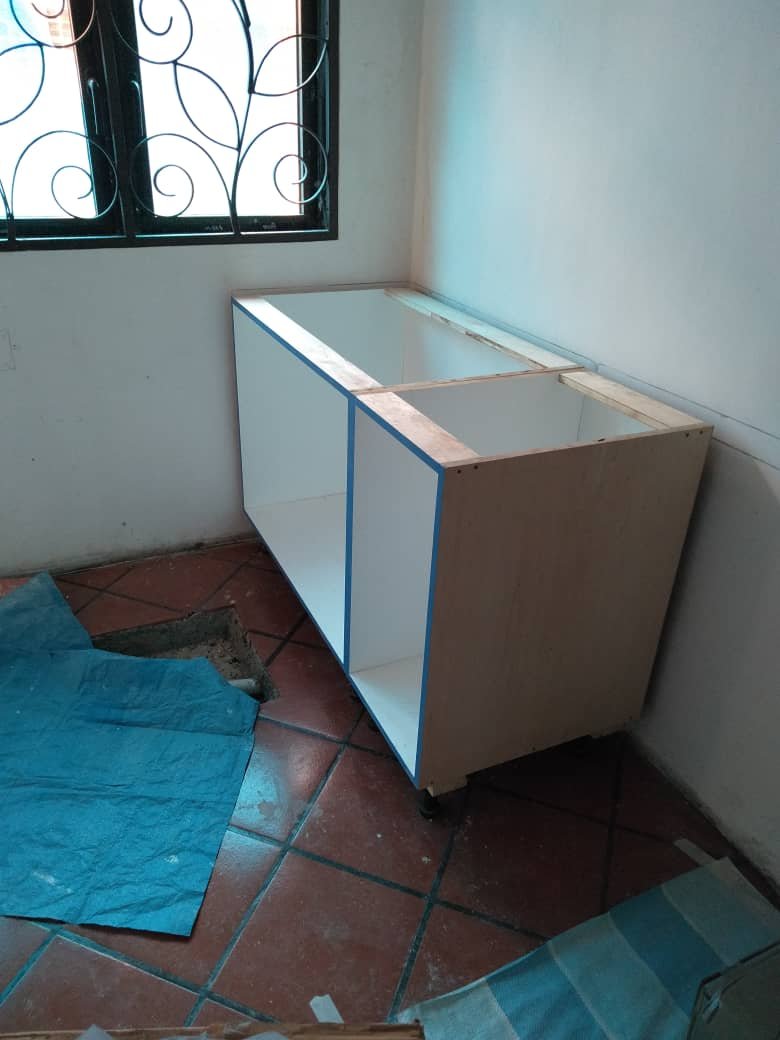
10. He's finished the boxes.
-
![]()
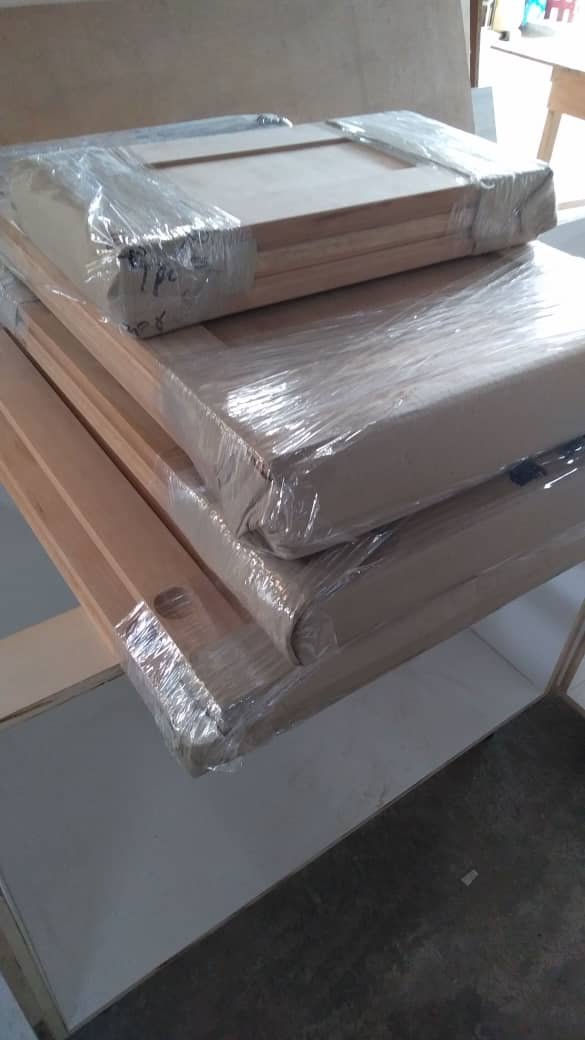
11. The new doors are ready for me to paint. Painting it myself would cut down the price and would also be a fun project for me.
-
![]()
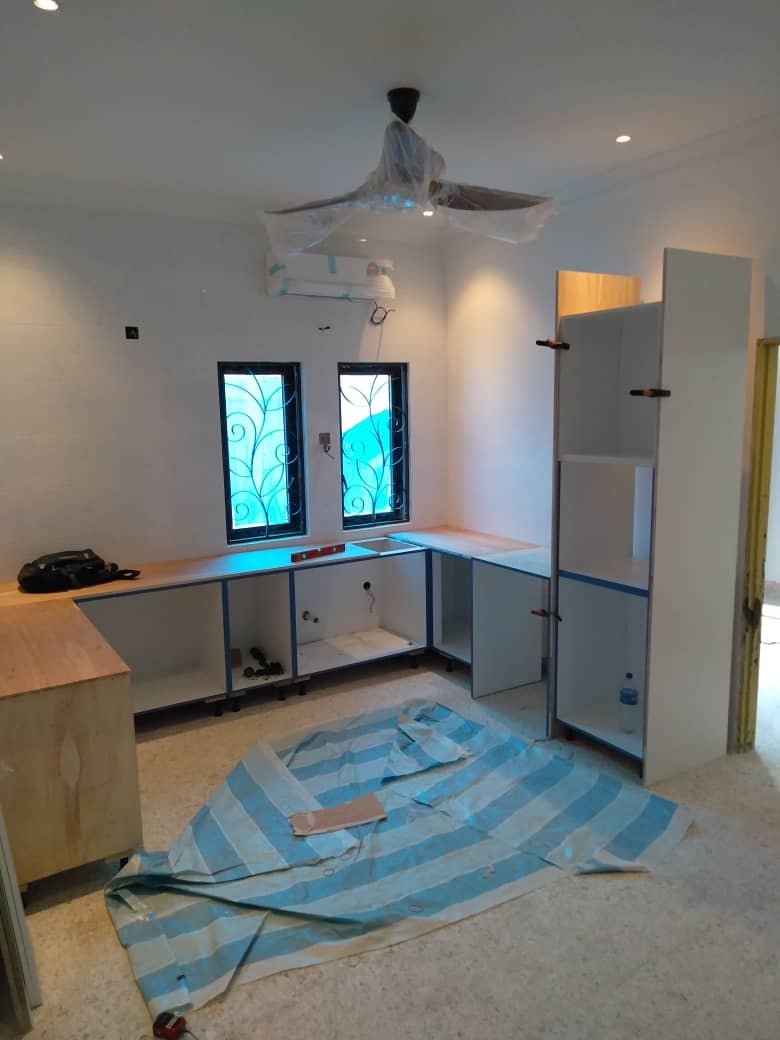
12. He's installing the cabinets.
-
![]()
13. The classroom is also getting a sink for all that crafting we'll be doing.
-
![]()
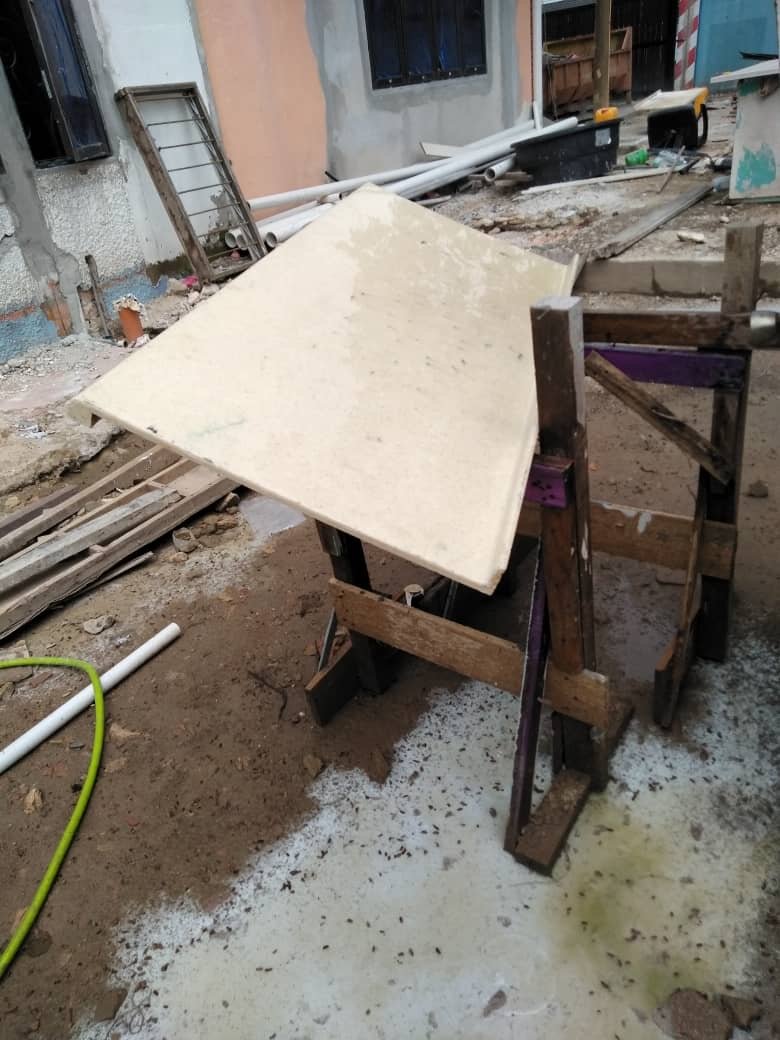
14. The old countertop is cut for the classroom sink as it won't fit the new kitchen.
-
![]()
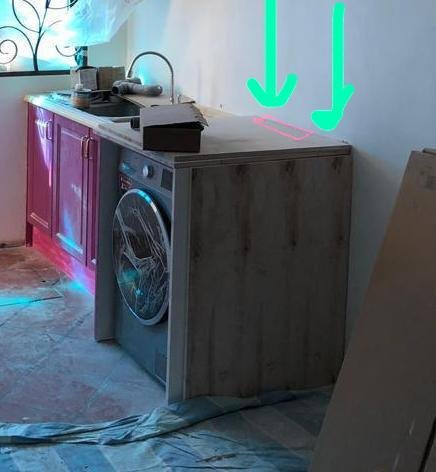
15. The washing machine is moved to the classroom due to its bulky size. Fitting it into the original plan in the actual kitchen would mean that the cupboard would be protruding too much.
-
![]()
16. The classroom sink and washing machine cabinet is almost done. A final coat of paint and it will be perfect!
-
![]()
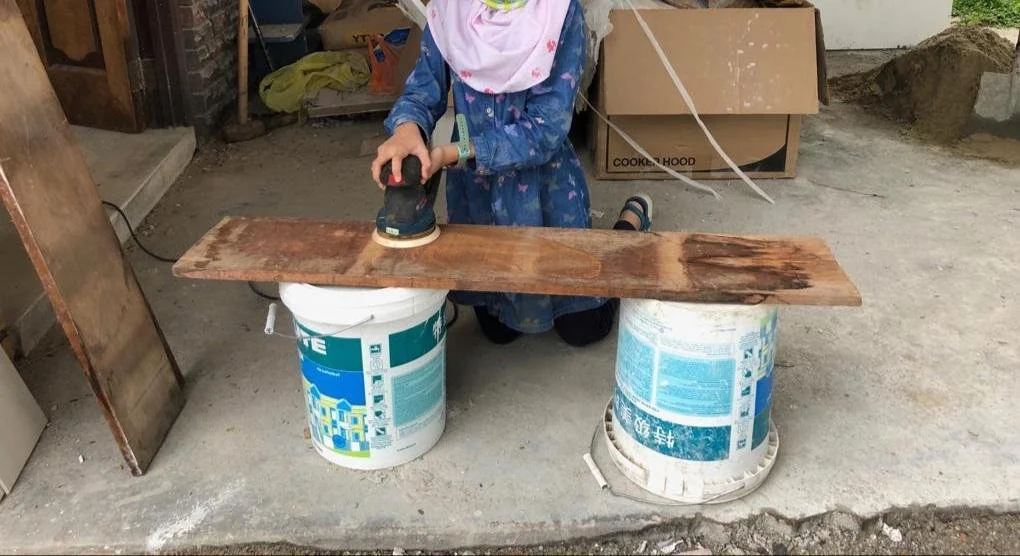
17. We want to add some open shelves so we're sanding some salvaged wood left for a rotting picnic bench. My daughter sands it. A good introduction to DIY's.
-
![]()
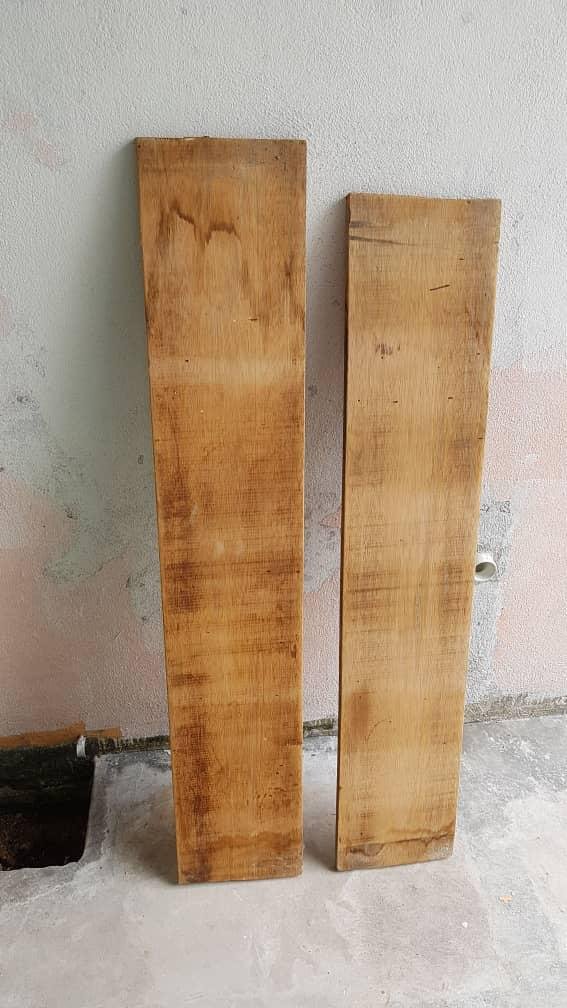
18. The contarctor will cut it into size and install it with some pretty brackets we had bought ourselves.
-
![]()
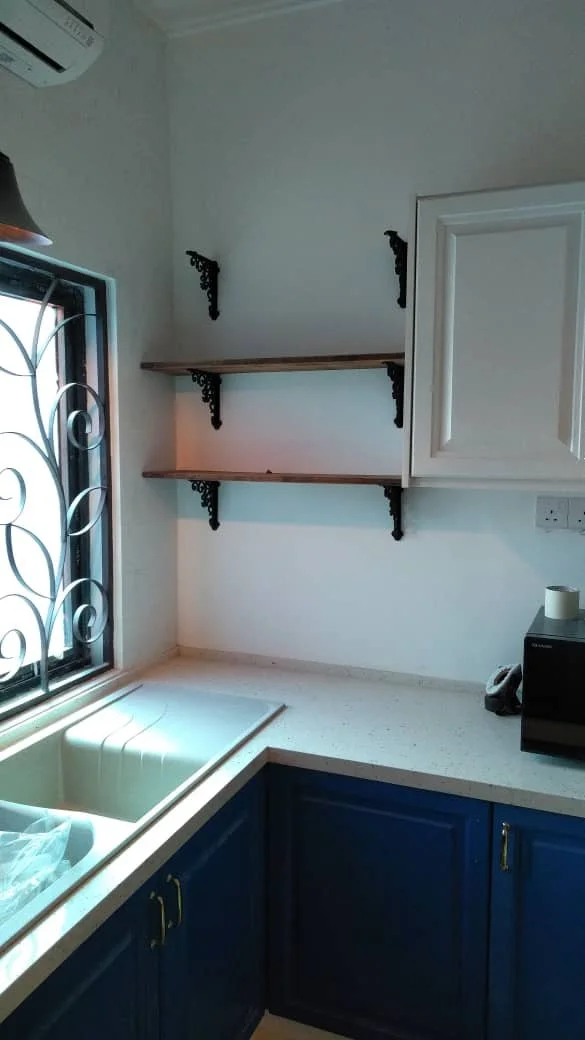
19. 2 or 3 shelves? We decided for 2 since the 3'rd would be too high.
-
![]()
20. We kept the open shelves unvarnished for a more natural look.
-
![]()
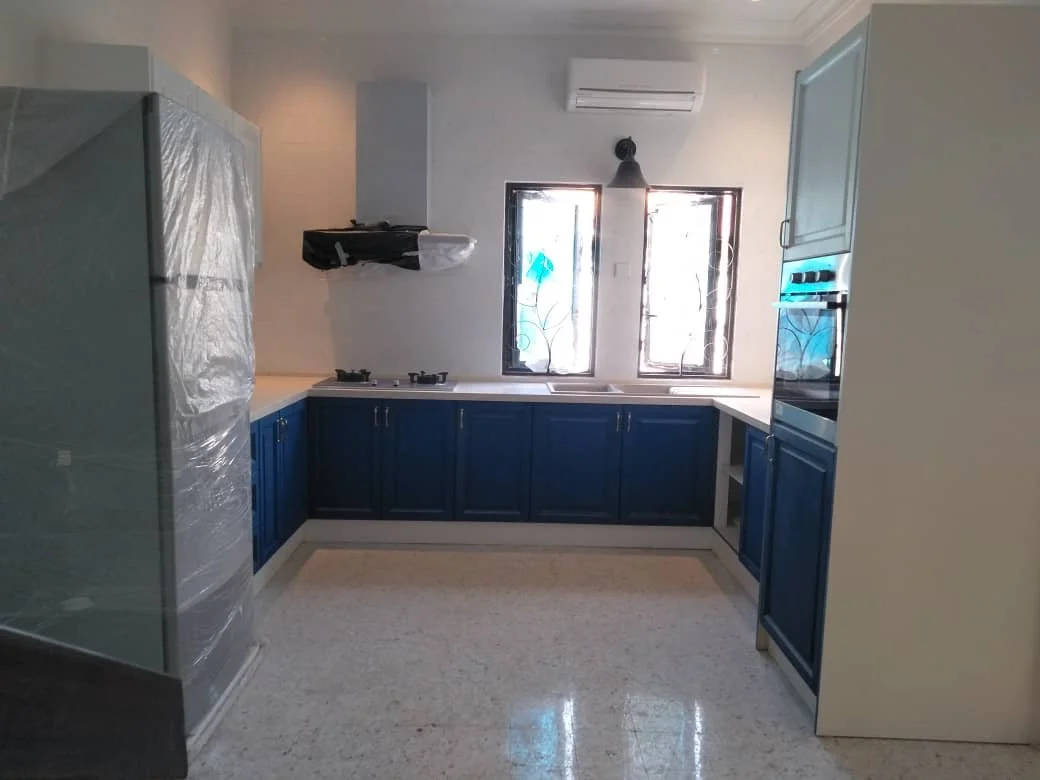
20. The kitchen is complete!
-
![]()
21. Five years on, the cabinet still looks good.


How I Did It
If you’re going to only repaint your cabinet doors, then the process is fairly simple.
Take them off from the cabinet boxes, but make sure to label it first. I find that an easy way to do this is to use masking tape and a marker. Put one masking tape with a Numebr marked on it onto the box and mark the corresponding number to your door in the little cavity holding the hinges as these will not be covered in paint.
In my case, not only did I want to use my old doors, I was also changing the whole layout of the cabinets to match the new location.
I talked to a few contractors and many refused to use my old doors. So why did they refuse? Well, technically speaking, it is easier for them to just do everything brand new. For instance, the wood would have to be sanded first and he’d have to make more calculations to fit old ones with new ones.
However, I persisted and got lucky when a shop specialising in kitchen cabinet directed me to one of their own contractors. I called him and was ecstatic when he agreed.
The contractor designed and made the necessary calculations to fit as many of my old doors into the new kitchen layout. In the end, I needed a few new doors but I did manage to use almost all of the old ones in this kitchen and in the classroom. The ones left were given to my sister who did her own little DIY to her open cupboards.

Texture
The texture of a hand painted cupboard door is not the same as a factory sprayed one. There will be paint brush grains visible. So, if this is not to your liking, then this project is probably not for you.
This picture shows what it looks like 5 years later. The brush strokes are quite visible closeup but are not at a distance. The white colour also is starting to look a bit dull, so I will be repainting it soon. It’s an easy project and will probably take only a couple of hours (prep and painting included).
Gloss or Matt?
I chose to paint with matt because I like the look of matt and I like how easy it would be to change colours or refresh my cabinets with a new coat of paint.
If I keep the old colour, one coat of paint would do so it it would be a quick job. If I had use gloss I would probably have to varnish first which would mean more steps to do.

Paint
The paint I used was Nippon Timbershade. I like it because it has low odour, has no lead or mercury, is fast drying and best of all is water-based which means that if I get it on my hands, I can wash it with water and not have to use hazardous chemical paint removers.


https://www.nipponpaint.com.my/products/topcoat/Timbershade
I love that I was able to recycle this and that I did it myself. It was definitely satisfying to take on this little project. It did take me a few days, and place was limited as the house was undergoing major renovation and I was staying at my mum’s apartment, so I did have to paint all the doors in a tiny balcony. But after all that, it was worth the time and energy spent.
If you have any questions, please leave a comment and don’t forget to subscribe for updates on more projects like these.